
Xtreme Easy Install Guide VDW 840
Now that you’re ready to install the Extreme Easy on your patio, here are the steps to get it done. Be sure to follow each step very carefully.
We recommend watching the entire video before attempting to install.
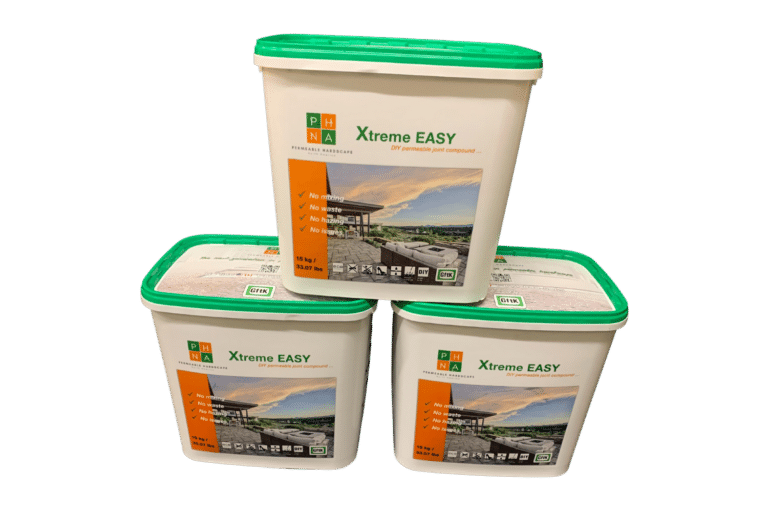
Follow this step-by-step guide for Installing Xtreme Easy
Not sure what Xtreme Easy is?
The VDW 840 plus Xtreme Easy is a pre-mixed, 1-component resin paving joint compound suitable for concrete pavers, natural stone, and tile.
Tools You Need to Install this VDW 840 Xtreme Easy
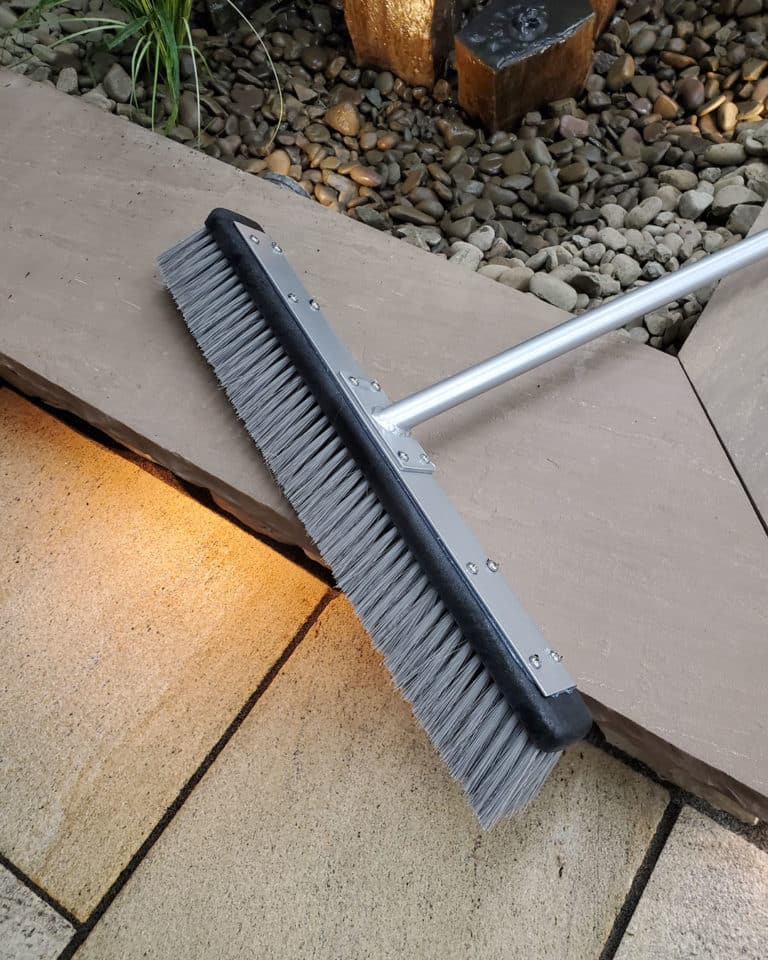
Hydro Broom
The Hydro Broom adds the needed water to activate the VDW 840 Xtreme Easy chemical and helps the material fall into the space between the pavers!
It is also a great tool to sweep and clean a patio at the end of a job.
Check Out This How To Installation Video Guide
The 10-Step Guide to Learn How to Apply Xtreme Easy Jointing Compound

Step 1 – Construction Site Requirements
Firstly:
A stable and load-bearing structure must be meticulously designed and installed, ensuring it can support expected traffic loads while complying with ASTM standards.
Additionally:
The water-permeable sub-base and the bedding layer are integral components, with a strong recommendation for using PHNA Xtreme Trass Bedding Compound (vdw 480). While the PHNA Xtreme Easy jointing compound simplifies the grouting process for concrete pavers, ceramic tiles, and natural stone, it’s essential to note that it shouldn’t be utilized to compensate for any substructure settlement. To accommodate the structural design and anticipated movement, movement joints must be incorporated as needed.
Pro Tip:
The PHNA Xtreme Easy jointing compound offers flexibility in application, as it can be used on damp or wet paving surfaces, even in light rain. These requirements collectively ensure a solid foundation and long-lasting construction quality.

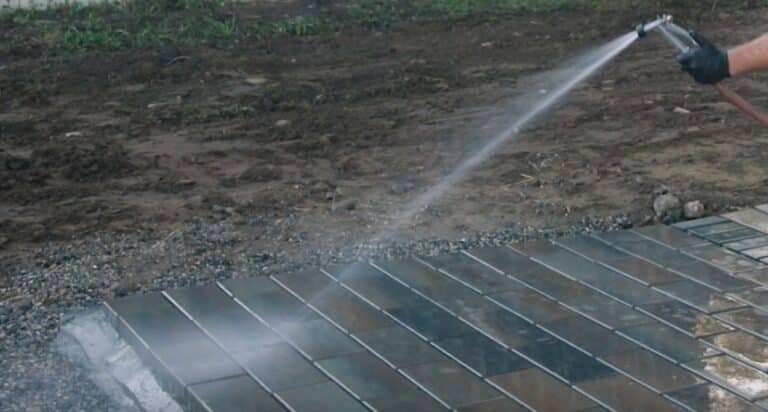
Step 2 – Wet The Paving
Preparation / Pre-wetting:
Clean the surface thoroughly of all dirt, cement residues, organic materials, or any other possible contaminants, including cleaning out all of the joints to the required depth.
Pre-Wetting the Surface:
Thoroughly saturate the surface with a careful application of water. This will facilitate jointing while ensuring that the mortar does not adhere to the surface.
Always use clean and fresh tap water!

Step 3 – Open the Lid of The Bucket
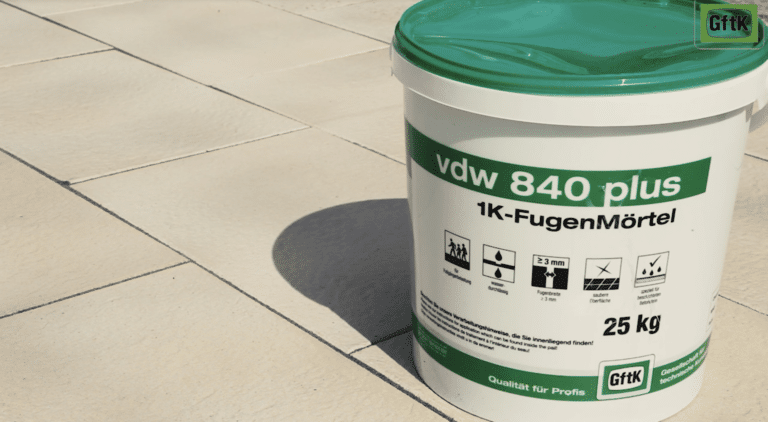
Open the lid of the bucket and take out the vacuum-sealed bag with the jointing mortar bucket. It also includes a booklet attached to the bottom side, providing technical details and additional information about the jointing mortar.
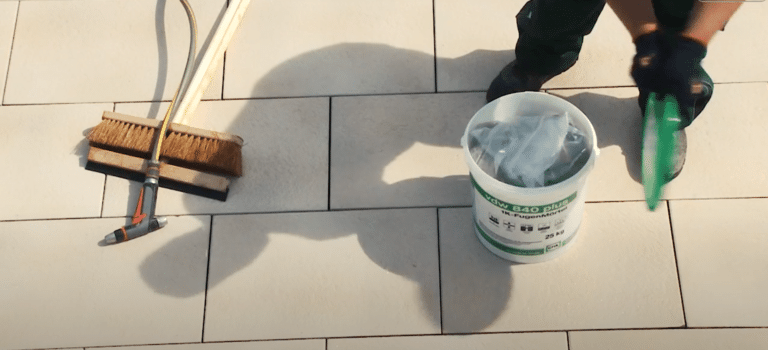

Step 4 – Cut the Bag Open
Carefully use scissors or a sharp knife to cut the bag open along the top seam.
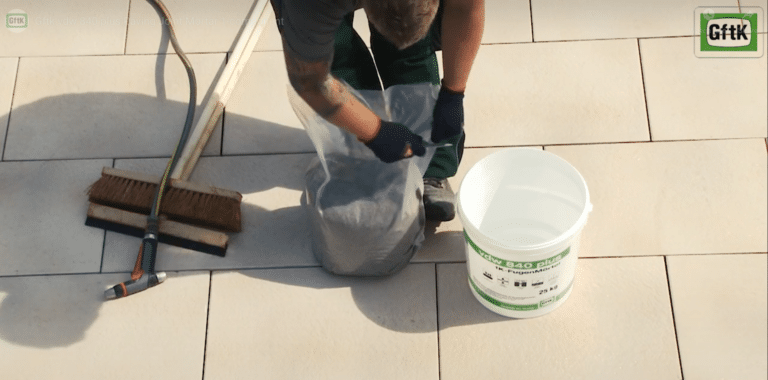

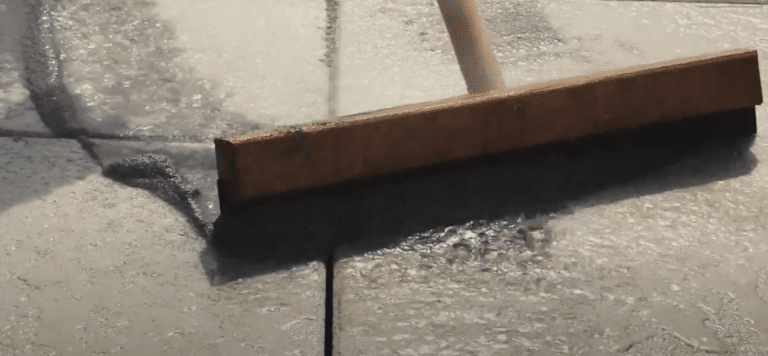
Step 5 – Pouring the Jointing Mortar
Spread the mortar into the gaps using the squeegee, preferably at a diagonal angle. Spraying water helps make the mortar flow smoothly and stay that way while you’re working.
It’s best to start from the highest point and work down, cleaning off extra mortar on the pavement by gently spraying it with water from a hose.
Be careful not to wash out the freshly applied mortar in the joints.

Step 6 – Cleaning and Caution
Continue these actions until you’ve spread the entire mortar slurry into the joints using a gentle water jet and a robust rubber squeegee. Remember to clean the pavement toward the sections still waiting to be filled and prevent water-based remnants from collecting, drying, or flowing over the already-finished areas.
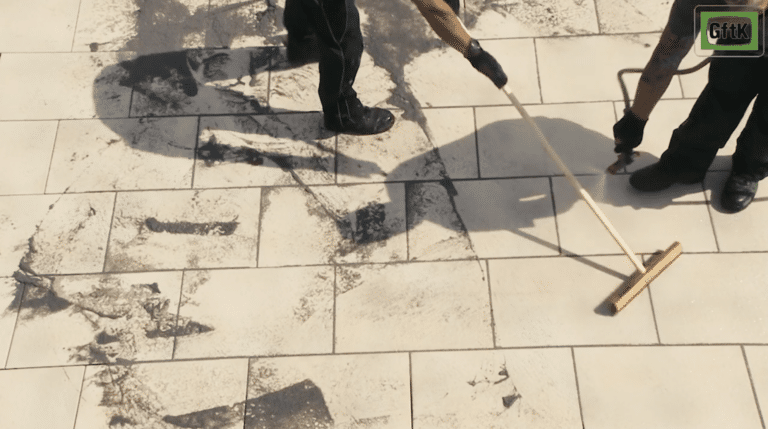

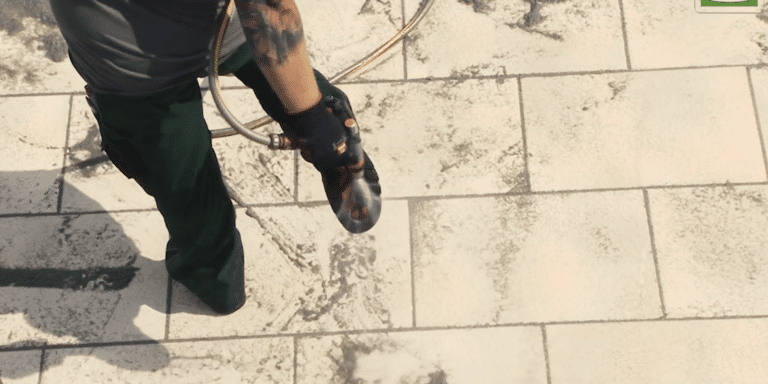
Step 7 – Preventing Footprints and Stains
Every now and then, especially when exiting the work area, be sure to clean the bottoms of your shoes to prevent leaving footprints and stains on nearby surfaces.

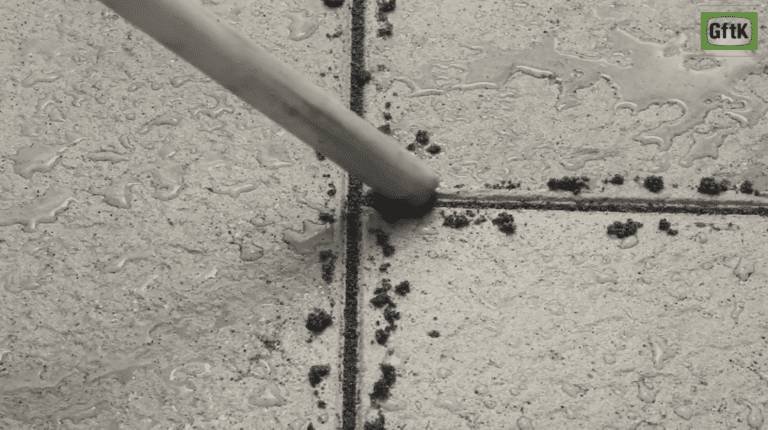
Step 8 – Sliding the Brush Handle Along the Joints
Be sure to thoroughly clean the chamfers, as their performance can’t be guaranteed if they’re not clean.
You can quickly achieve this by running the handle of a coconut fiber brush along the joints.

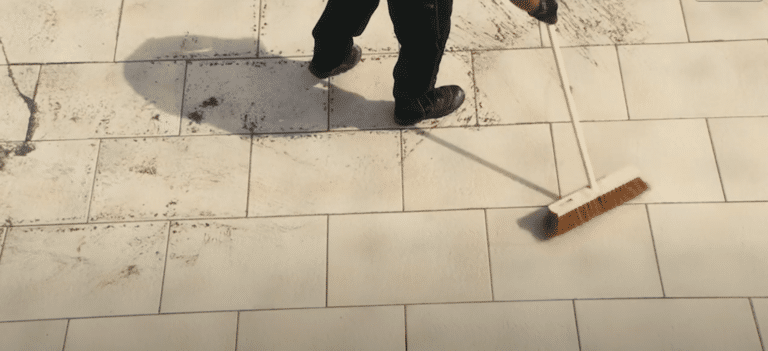
Step 9 – Removing Residues with Coconut Fiber Brush
The last residues of mortar may be brushed off with the coconut fiber brush.
While doing so, the surface, as well as the joints themselves, may be smoothed over or reshaped.

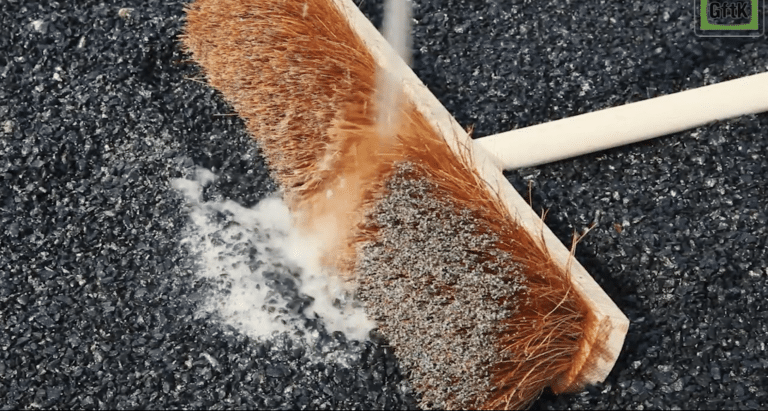
Step 10 – Clean your brush
Regularly rinse the brush with water, particularly when working on extensive jointing tasks. This is crucial for achieving the desired outcome: a strong, long-lasting, permeable joint using VDW 840 plus
Frequently Asked Questions
See More GFTK Jointing Products
We are happy to answer any questions about Xtreme Easy or any of our other products. If you would like to talk to one of us, click the CONTACT US button below.
If you are ready to order, please click on the ORDER RETAIL button.
